
Tote Bag DIY

________

SUPPLIES
- scissors
- ruler
- pencil
- sewing machine
- 1 1/2 yards of strong canvas or fabric


once you have finished pinning, sew up each edge. make sure to backstitch at the beginning and end of the fabric. next, measure out 1 (one) inch at the top of the bag and fold in in towards you. this will create the clean edge at the top of the bag. pin and sew. (TIP: make sure that the edge measures 1 inch all the way around the top of the bag, or else you'll be left with an uneven seam.)


once all is sewn, flip your tote right side out to make sure all is going smoothly and the bag looks as desired. if you are satisfied, flip the tote inside out again, and measure and mark (vertically and horizontally) 2 (two) inches on each corner.

sewing these two corners will allow your tote to be able to stand easier and gives a more professional look.

once again, flip the bag right side out to check your progress. if you're happy, it's time to decorate.
_______


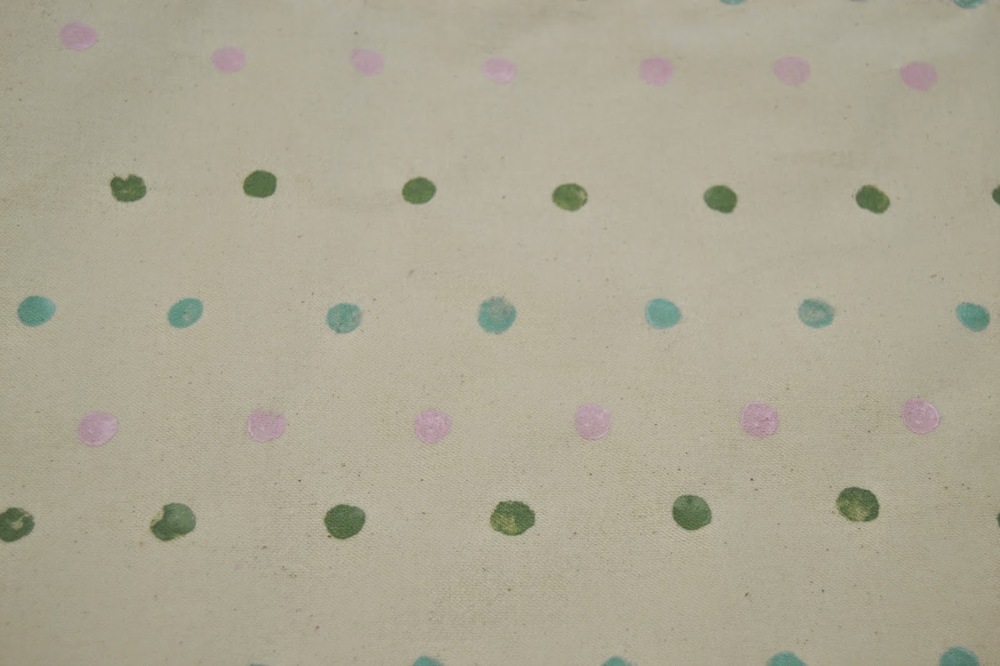
SUPPLIES
- paint
- dotting tool (i used the bottom of a paintbrush. you can also use a pencil eraser.)
- tote (buy or diy)
- cardboard/cardstock


i also made a dip-dyed tote, seen in the cover photo. (the directions are pretty self-explanatory...)


i know i posted this a lot later than i had said or hoped, so sorry about that. but i hope you guys like your new tote bag. i know this is a DIY that'll last me a while.
xo. Molly